RV DIY: Fiberglass Siding Repair
Sometimes, the open road is your best friend. Empty streets, bright sun, blue sky and no obstacles. Taking your RV out on a day like that can be smooth sailing.
But weather and obstacles pop up when you least expect them to. Sure, the weatherman predicted that last weekend would be great, but it turned out to pour for 48 hours. And Google Maps suggested that you take the shortcut down the one-lane road.
Problems like this can cause mental anguish, and, unfortunately, some physical harm to your RV. Rocks, low-hanging branches and other hazards of the road can ding your RV.
FIBERGLASS VS. ALUMINUM
While aluminum is a heavier and less expensive material, it’s becoming less and less popular. Fiberglass shaves pounds off of the weight of your RV, and in turn, gives your gas mileage a boost. Unfortunately, it can be brittle and require occasional repairs.
Rocks, branches and other obstacles can damage your RV and require small repairs in your fiberglass siding. Thankfully, with just a few tools, these are repairs you can make at home.
So how can you make small fiberglass repairs?
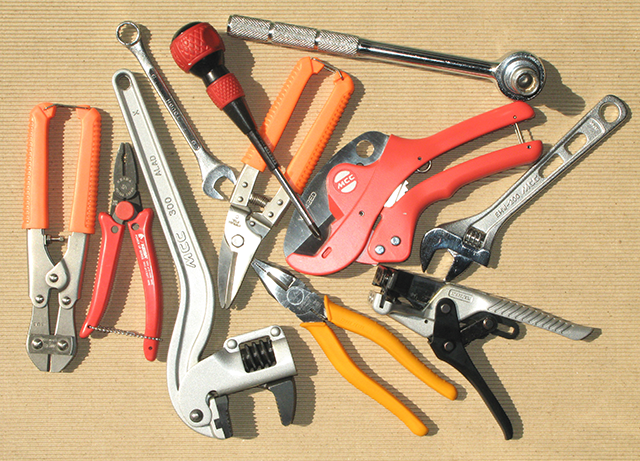
Tools You Need:
- Eye Protection
- Breathing Mask
- Gloves
- Drill
- Sandpaper of Various Grits
- Auto body filler (such as Bondo)
- Fiberglass Repair Kit
- Foam Insulation
Step-by-Step:
- Suit Up: This project involves fiberglass, which can get stuck in your skin and can be very harmful if inhaled. Wear eye protection, a breathing mask and gloves at all times.
- Cut Away Excess Fiberglass: Use a sharp knife to remove damaged fiberglass.
- Repair Insulation: If there’s a particularly deep hole, you might have to repair the insulation behind the siding. Use expanding foam insulation to fill the gap left in the insulation and allow to dry. Sand or cut the dry foam insulation so it’s flush with the rest of the insulation.
- Apply Auto Body Filler: Following the directions on the package, mix the auto body filler and apply to the hole. Allow to dry, then sand flush.
- Fiberglass Repair: Apply the fiberglass over the filler and let dry. Then sand flush.
- Match and Apply Paint: Contact your RV manufacturer to order the correct color of touch-up paint, and apply over the fiberglass to complete the project.
If fiberglass repair sounds too difficult for you to attempt at home, contact Good Life RV’s maintenance department.

